Mold. The word alone can send shivers down the spine of any homeowner. It’s that unsightly, sometimes smelly, and often harmful intruder that sneaks into our homes, wreaking havoc on walls, ceilings, and even our health. If you’ve ever discovered mold in your home, you know how frustrating and overwhelming it can feel. But fear not! Mold remediation, when done correctly, can restore your home to a safe and healthy environment. This guide will walk you through the process of effectively inspecting your home for mold, so you can tackle this problem head-on and reclaim your space.
Why Mold is a Big Deal

Mold isn’t just an aesthetic issue; it poses significant health risks. Exposure to mold can lead to various health problems, including respiratory issues, allergies, and skin irritation. Mold spores, when inhaled, can trigger asthma attacks and worsen existing respiratory conditions. This is particularly concerning for children, the elderly, and those with compromised immune systems. In severe cases, mold exposure can lead to chronic respiratory illnesses and other long-term health complications.
For individuals with pre-existing health conditions, the consequences of mold exposure can be even more severe. People with weakened immune systems are at higher risk of infections and other serious health problems. Understanding why mold forms and how it affects your health is the first step in combating it. Mold thrives in damp, humid environments, and identifying these conditions in your home is crucial to preventing its growth. Addressing mold promptly not only protects your health but also preserves the structural integrity of your home.
What Causes Mold?
Mold requires three key elements to thrive: moisture, organic material, and a suitable temperature. These conditions frequently exist in areas of the home such as bathrooms, basements, and kitchens, where dampness is common. Leaky pipes, water-damaged walls, and condensation from poor ventilation all contribute to an environment ripe for mold growth.
High humidity levels, particularly in climates prone to moisture, can further exacerbate the problem. Even everyday activities like cooking and showering can increase indoor humidity. By understanding these common causes, homeowners can identify potential problem areas and take proactive measures to eliminate moisture, effectively reducing the risk of mold infestations and protecting their living spaces.
The Importance of a Thorough Inspection
A thorough inspection is vital in the mold remediation process. Simply cleaning visible mold isn’t sufficient; it’s essential to identify and address the underlying source of moisture that fuels its growth. If the moisture issue isn’t resolved, mold will likely reappear, leading to ongoing health risks and property damage.
An effective inspection allows you to assess the extent of the infestation and determine the type of mold present. This information is crucial for developing a targeted remediation plan that addresses both the mold and its source. By investing time in a comprehensive inspection, you set the stage for a successful mold remediation that safeguards your home and health.
Preparing for the Inspection
Before diving into the inspection, gather the necessary tools. You’ll need:
- A flashlight
- A moisture meter
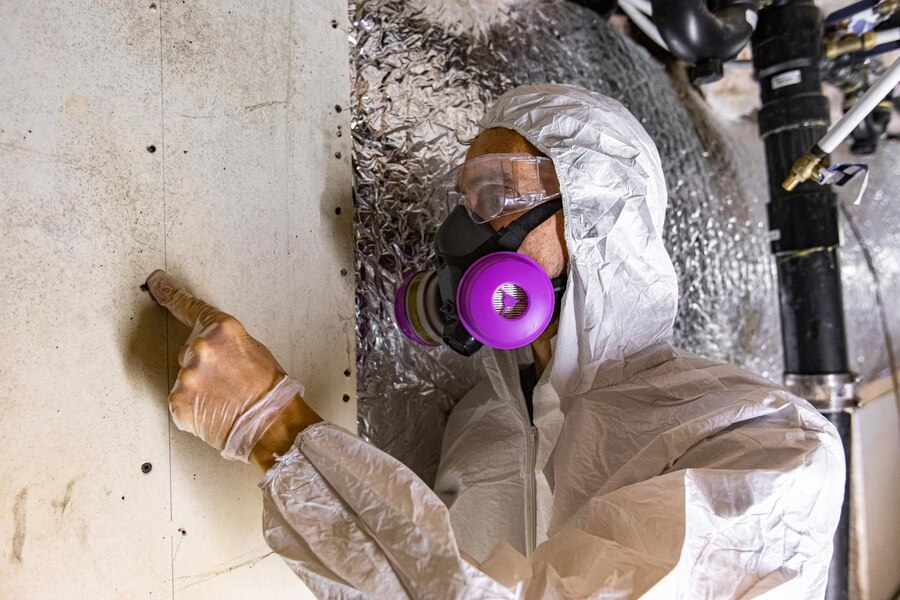
- Personal protective equipment (PPE) such as gloves, a mask, and goggles
- A camera or smartphone for documentation
- Notebook and pen for taking notes
Dress in old clothing you don’t mind getting dirty, and ensure the area is well-ventilated.
Step-by-Step Mold Inspection Guid
Visual Inspection
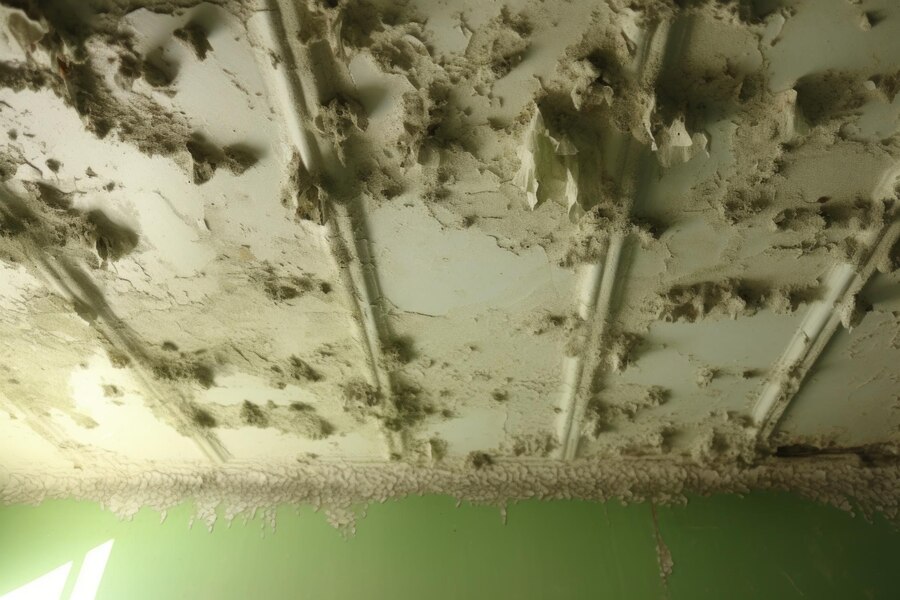
Begin with a thorough visual inspection of your home. Look for visible signs of mold, such as discoloration, spots, or fuzzy growths on walls, ceilings, and floors. Pay special attention to areas with a history of water damage or high humidity.

Use a Moisture Meter
A moisture meter can help detect areas with high moisture levels, which are prime spots for mold growth. Test various surfaces, especially in areas prone to moisture, like around pipes, in the basement, and near windows. High readings indicate the presence of moisture, signaling a potential mold problem.
Check for Musty Odors
Mold often emits a distinctive musty smell. Walk through your home and take note of any unusual odors, particularly in enclosed spaces like closets, basements, and attics. If you detect a persistent musty smell, it’s likely there’s mold nearby.
Inspect HVAC Systems
Your heating, ventilation, and air conditioning (HVAC) system can harbor mold, spreading spores throughout your home. Inspect air ducts, filters, and vents for any signs of mold. Consider having your HVAC system professionally inspected and cleaned if you suspect contamination.
Look Behind and Under Items
Mold loves to hide in dark, undisturbed places. Move furniture, rugs, and other items to check for hidden mold. Inspect behind wallpaper and under carpets if you suspect mold is present. Don’t forget to check inside cabinets and closets.
Document Your Findings
Take photos and detailed notes of any mold you discover. Documenting your findings helps you keep track of problem areas and can be useful if you need to consult a professional. Include the location, size, and appearance of the mold, as well as any potential sources of moisture.
When to Call in the Professionals
While DIY inspections and remediation can work for small mold problems, there are crucial instances where calling in professionals is necessary. If you discover mold covering more than 10 square feet, it’s wise to seek professional help, as larger infestations can pose significant health risks and may require specialized equipment and expertise. Additionally, if anyone in your household suffers from allergies or respiratory conditions, professional remediation is advisable to ensure a thorough and safe removal.
Uncertain sources of moisture can complicate mold issues, and professionals are equipped to identify hidden leaks or structural problems. If you notice that mold keeps reappearing despite your best efforts, professionals can implement lasting solutions that address both the mold and its underlying causes, providing peace of mind for you and your family.
DIY Mold Testing Kits: Are They Worth It?
DIY mold testing kits may seem convenient, but they come with significant limitations. While they can confirm the presence of mold, they typically do not identify the specific type or accurately measure mold levels in your home. This lack of detailed information can lead to misguided remediation efforts, potentially allowing the problem to persist.
In contrast, professional mold testing provides a comprehensive analysis of the situation. Experts can identify the type of mold present and assess the severity of the infestation, allowing for targeted remediation strategies. This ensures that you not only address the visible mold but also manage the underlying causes, safeguarding your home and health effectively.
Mold Remediation Process
Once you’ve completed your inspection and identified the problem areas, it’s time to move on to remediation. Here’s a general overview of the process:
Fix the Moisture Problem
Addressing the source of moisture is crucial to prevent mold from returning. This might involve repairing leaks, improving ventilation, or using a dehumidifier. Without resolving the moisture issue, any remediation efforts will only be temporary.
Contain the Mold
Contain the affected area to prevent mold spores from spreading to other parts of your home. Close doors and windows, and use plastic sheeting to seal off the area. Turn off your HVAC system to avoid spreading spores through the air.
Remove Affected Materials
Remove and dispose of any materials that are heavily infested with mold, such as drywall, insulation, and carpeting. Bag and seal these materials before disposing of them to avoid spreading mold spores.
Clean and Disinfect
Clean non-porous surfaces with a solution of water and detergent. Scrub the affected areas thoroughly to remove all mold. After cleaning, disinfect the surfaces with a mixture of bleach and water (1 cup of bleach to 1 gallon of water). Be sure to wear protective gear and work in a well-ventilated area when using bleach.
Dry the Area
Dry the area completely to prevent mold from returning. Use fans, dehumidifiers, and open windows to ensure thorough drying. Monitor the area for several days to ensure no moisture remains.
Repair and Restore
Once the area is clean and dry, repair any damaged materials. Replace drywall, insulation, and flooring as needed. Consider using mold-resistant materials to reduce the risk of future infestations.
Conclusion
Effective mold remediation starts with a thorough inspection to identify moisture sources and the extent of the problem. While DIY approaches can be helpful for minor issues, knowing when to call in professionals is crucial for larger infestations or persistent mold problems. Precision Restoration, Inc. in Oklahoma City is here to help you navigate the complexities of mold remediation, ensuring your home remains a safe and healthy environment. Don’t let mold compromise your well-being—reach out to our experienced team for reliable solutions tailored to your needs. Protect your home and health by taking action today!


