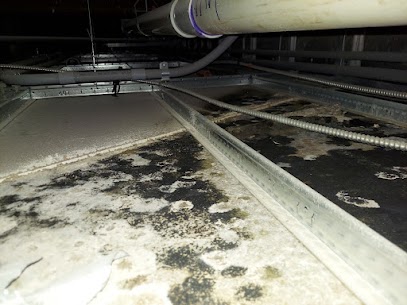
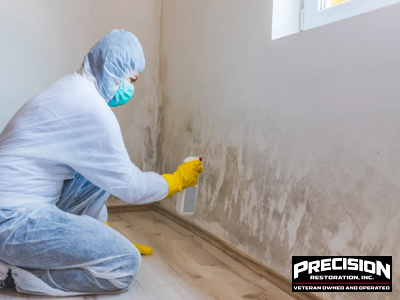
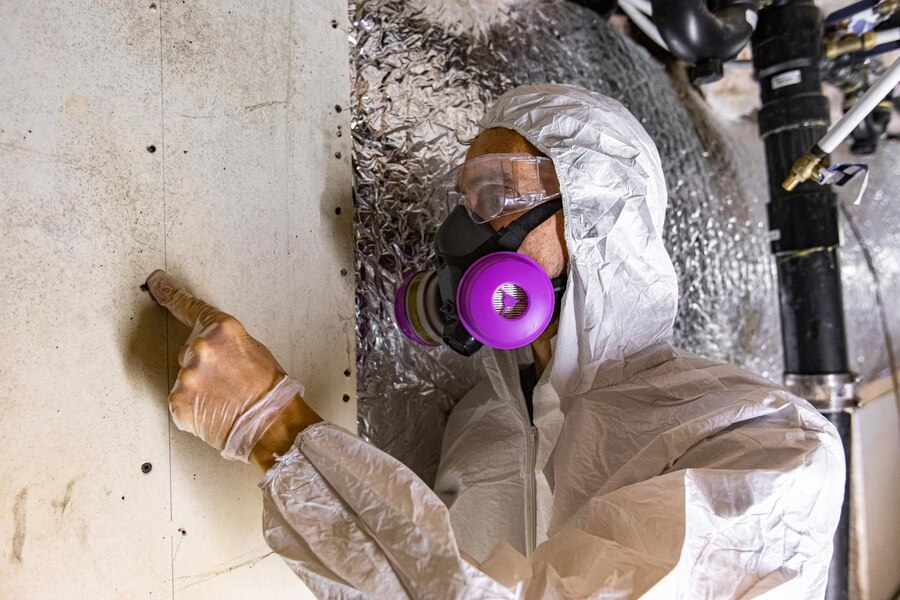
Mold can be a serious problem in any home, causing health issues and damage to your property. And while many people immediately think of hiring a professional for mold remediation, it is also possible to tackle the problem yourself. In this expert guide, we will cover everything you need to know about DIY mold remediation to help you effectively and safely get rid of mold in your home.
Identify the type of mold

The first step in DIY mold remediation is to identify the type of mold present in your home. There are many types of mold, but the most common ones found in homes are Aspergillus, Cladosporium, and Stachybotrys (also known as black mold). It’s important to know the type of mold you are dealing with as different types require different remediation methods.
There are many different types of mold, each with its own characteristics and potential health effects. It is important to be aware of the type of mold present in your home and to take the necessary precautions to prevent its growth. Regularly cleaning and maintaining your home’s humidity levels can help prevent mold growth. If you suspect mold in your home, it is essential to seek professional help for its safe and thorough removal. Stay informed and take care of your health by staying mold-free.
Locate the source of moisture
Mold thrives in moist environments, so it is crucial to identify and fix the source of moisture that is causing mold growth. This could be a leaky pipe, a roof leak, or poor ventilation. Without addressing the source of moisture, any mold remediation efforts will be futile, as the mold will just continue to grow. One of the most common sources of moisture is leaky pipes. This can often go unnoticed until it becomes a bigger problem, causing damage to the surrounding walls and floors. It is important to regularly check for any signs of leakage, such as water stains on walls or ceilings, dampness around pipes, or a musty odor. If you do notice any of these signs, it is important to address the issue immediately by contacting a plumber.
Wear protective gear
Mold can release harmful spores into the air, which can cause respiratory issues and other health problems if inhaled. Therefore, it is essential to wear proper protective gear while tackling mold remediation. This includes goggles, gloves, and a face mask to prevent inhaling spores. It’s important to note that wearing protective gear alone is not enough – it’s equally important to make sure that the gear is in good condition and fits properly. This means regularly checking for any tears, holes, or other signs of wear and tear, and replacing them if necessary. Wearing gear that is too loose or too tight can also be dangerous, so ensuring a proper fit is crucial.
Contain the affected area
Before you start the actual mold remediation process, it’s crucial to contain the affected area to prevent the mold spores from spreading to other parts of your home. Seal off the area with plastic sheets and tape, and make sure to cover any air vents or ducts. Another aspect of containing the affected area is protecting vital infrastructure, such as power grids and water systems. In the event of natural disasters, these can be damaged or destroyed, leading to prolonged power outages and contaminated water supplies. If you are able to do so safely, turn off electricity and gas in your home before evacuating. This can help prevent fires and explosions. After the disaster has passed, it is important to wait for authorities to declare that it is safe to turn them back on.
Remove the mold
Once you have taken all the necessary precautions, you can start removing the mold. If the affected area is less than 10 square feet, you can use a mixture of detergent and water to scrub the mold off non-porous surfaces. For larger areas, it is best to use a commercial mold cleaner or a mixture of equal parts white vinegar and water. Make sure to follow the instructions on the product and scrub the mold off thoroughly.

Dry the area
After removing the mold, it’s essential to dry the area completely. Use a dehumidifier and fans to speed up the drying process. This is crucial as mold needs moisture to grow, so drying the affected area will prevent any new mold growth. Drying an area after water damage is a crucial step in the restoration process. It not only prevents further damage to the area but also ensures the safety and hygiene of your living space. Whether it’s a small spill or a large flood, taking the time to properly dry the affected area can save you time, money, and potential health risks in the long run.
Dispose of contaminated materials safely
Any materials that were affected by mold, such as carpets or drywall, should be disposed of properly. Seal them in plastic bags and dispose of them in a designated mold disposal area.
Proper disposal of contaminated materials is crucial in maintaining a clean and safe environment for ourselves and others. Whether it be hazardous or non-hazardous materials, it is essential to follow specific guidelines and regulations to ensure the protection of human health and the environment. By understanding the level of contamination, using appropriate PPE, and following proper disposal methods, we can all contribute to a healthier and safer community. Let us all do our part in properly disposing of contaminated materials and keeping ourselves and our surroundings clean.
Monitor for any signs of mold regrowth
Even after completing the DIY mold remediation process, it’s essential to monitor the affected area for any signs of mold regrowth. If you notice any new mold growth, it’s best to seek professional help to ensure the mold is effectively removed.
Mold regrowth is a common issue that can occur in our homes. It is important to be vigilant and monitor for any signs of regrowth, as well as take preventative measures to avoid it. Regular visual inspections, controlling humidity levels, and addressing any sources of water can help to keep mold at bay. Remember, if you do notice any signs of mold regrowth, it is essential to act quickly and seek professional help if needed.
Conclusion
In conclusion, mold remediation can be a challenging task, but with the right knowledge and precautions, it is possible to tackle it yourself. Remember to prioritize your safety and follow these expert tips for successful DIY mold remediation. If you are unsure or uncomfortable with the process, don’t hesitate to contact a professional for assistance. At Precision Restoration Inc., located at Oklahoma City, Oklahoma we have a team of experienced professionals ready to help you eliminate mold from your home. Contact us today for a free consultation.


